
Binding a booklet is essential for creating professional and polished print materials. Whether you're producing a small-run magazine or an in-depth catalog, understanding the different binding methods and how to prepare your files can make a massive difference to your print’s final look. We'll walk you through everything you need to know about booklet binding, from choosing the right option to avoiding common mistakes.
Choosing the Right Binding Method
Choosing the most suitable binding method literally brings your prints together, making them look good and ensuring they hold up well over time. When selecting a binding method for your project, consider factors like page count, budget, and the booklet's intended use. Let’s explore popular booklet binding methods, including saddle stitching, perfect binding, and wire-o binding:
Saddle Stitching
Saddle stitching, or staple binding, is one of the most common and cost-effective booklet binding options. It involves folding sheets of paper in half, laying them over a binding machine like a saddle, and stapling them along the fold line. This method is ideal for booklets with smaller page counts and prints with continual graphics. Watch the binding process for staple-bound booklets.
Pros:
- Affordable and quick to produce: Saddle stitching is one of the least expensive binding methods, making it a popular choice for short-run projects or when budget matters. Additionally, it has short turnaround times, meaning they’re relatively quick to produce.
- Lays flat when open: This binding method allows the booklet to lay flat when opened, which makes it easier to read and view content, particularly across the center spread.
- Ideal for short-run and promotional projects: Saddle stitching is perfect for smaller projects, including event programs or product catalogs, where creators can achieve a sleek look without breaking the bank.
Cons:
- Limited to a smaller page count: Saddle stitching is unsuitable for thicker booklets, as the staples can only hold a limited number of pages effectively. Other binding methods may be more appropriate for booklets with large page counts. At Mixam, our Instant Quote Calculator will automatically switch to an alternative binding option should the specifications you enter become unavailable.
- Less durable: Over time, saddle-stitched booklets can become less durable, especially with frequent handling, as the staples may loosen, and pages may start to come apart.
- Unsuitable for thick or high-end projects: Saddle stitching may not provide the desired aesthetic and durability for projects requiring a more professional appearance or involving a higher page count.
Perfect Binding
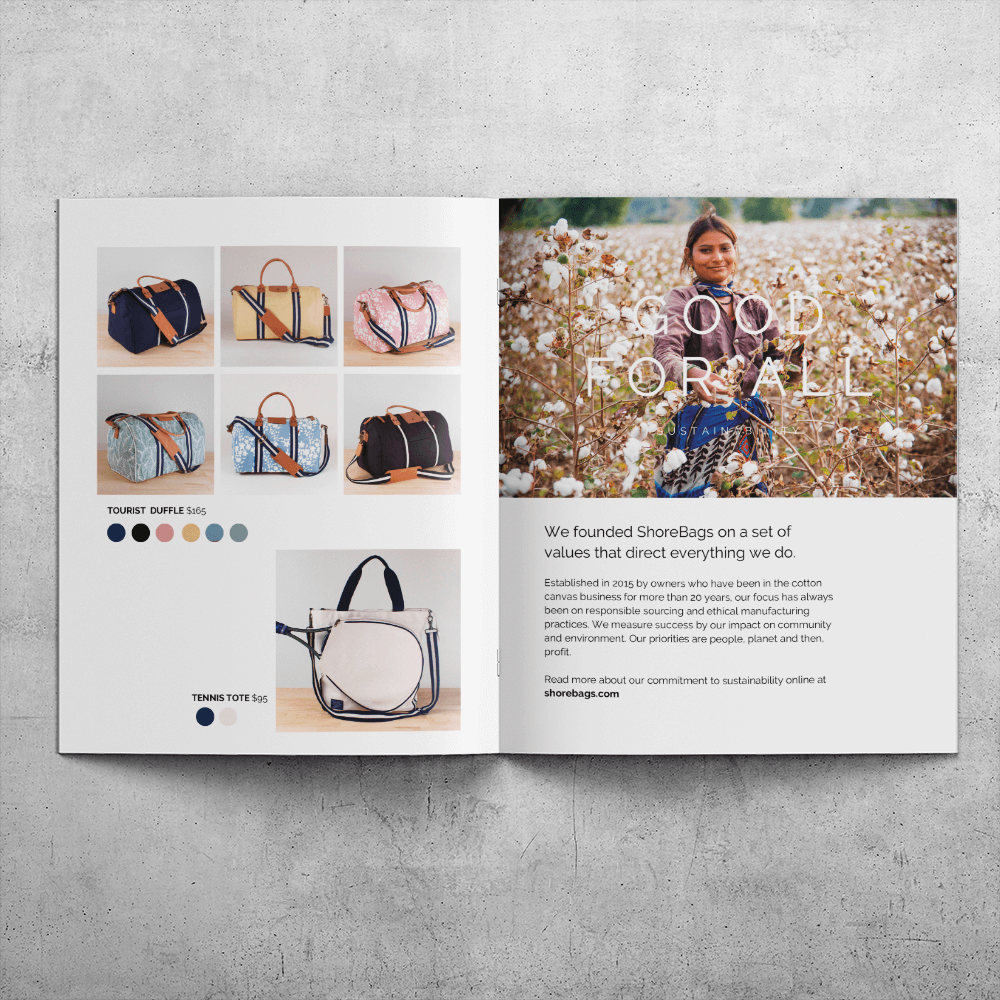
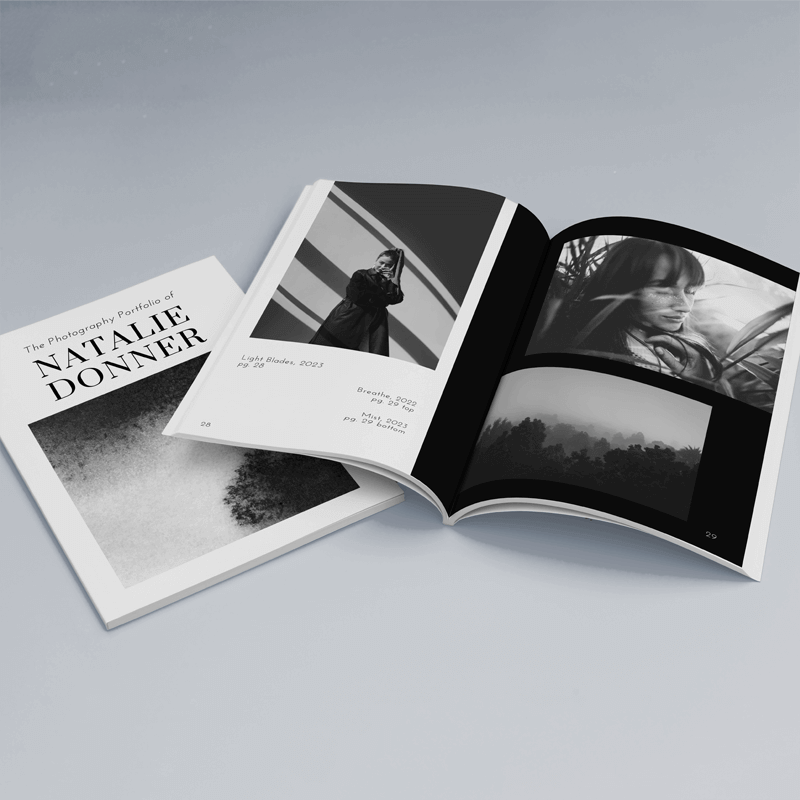
Perfect binding is a popular choice for more businesslike booklets. This method involves gluing the edges of the pages together and attaching a wrap-around cover. Perfect binding suits booklets with higher page counts, giving prints a rectangular spine.
Pros:
- Provides practical and visual appeal: Perfect binding gives booklets a slick appearance, making them ideal for high-end catalogs, annual reports, and other professional documents.
- Suitable for thicker booklets: This method can accommodate a higher page count, making it ideal for more extensive publications.
- Printable spine: The spine of a perfect-bound booklet can be printed on, which allows for easy identification on bookshelves and adds to the overall look.
Cons:
- More expensive: Perfect binding is generally more costly than saddle stitching due to the materials and labor involved in the binding process.
- Doesn't lay flat: Unlike saddle-stitched booklets, perfect-bound booklets do not lay flat when open, which can make them more difficult to read.
- Requires more time: The perfect binding process takes longer, as the glue needs to dry completely before handling, leading to longer production times.
Wire-O Binding
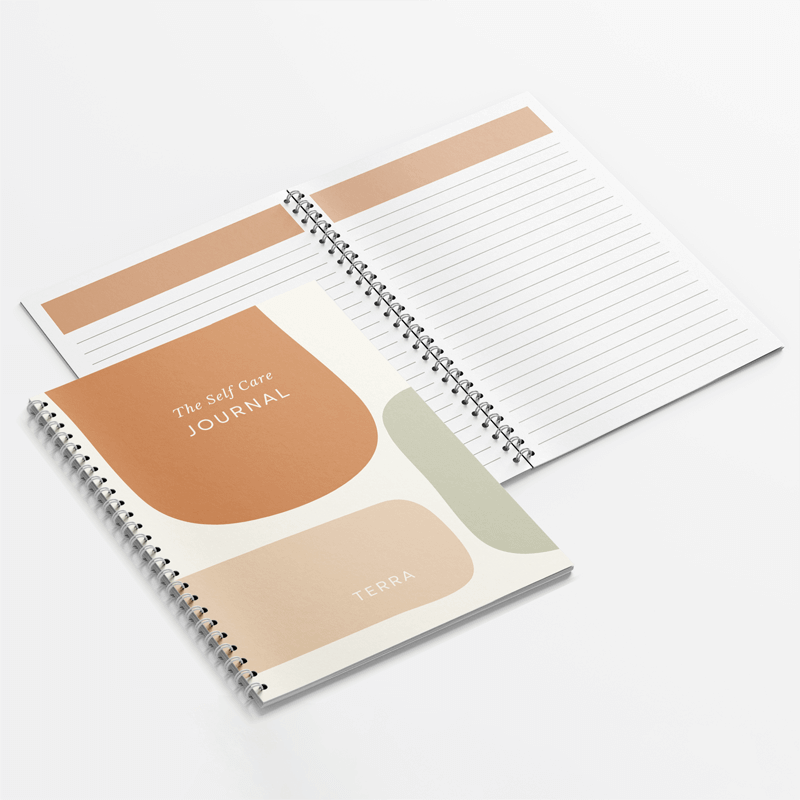
Wire-O binding is a popular choice for a wide range of booklets. Unlike wire-o binding, which uses a twin-loop wire, wire-o binding employs a continuous plastic or metal coil threaded through a series of evenly spaced holes along the edge of a booklet. This method provides durability and flexibility, making it an excellent option for frequently handled booklets that need to open fully without the risk of spine damage.
Pros:
- Durability: The continuous spiral offers robust binding and can withstand heavy use without breaking.
- Lays flat: It’s ideal for booklets needing to lie flat or fold back on themselves, making note-taking and hands-free reading easy.
- Affordable: Generally more cost-effective than wire-o binding, especially for larger print runs.
Cons:
- Less professional look: While durable, wire-o binding may appear less formal than perfect binding or hardcover binding, making it unsuitable for high-end publications.
- Limited page count: This format is suitable for booklets with a moderate number of pages; too many pages can make the binding less manageable and efficient.
- Potential deterioration: The spiral may wear out over time, especially if the booklet is used frequently.
Spiral Binding
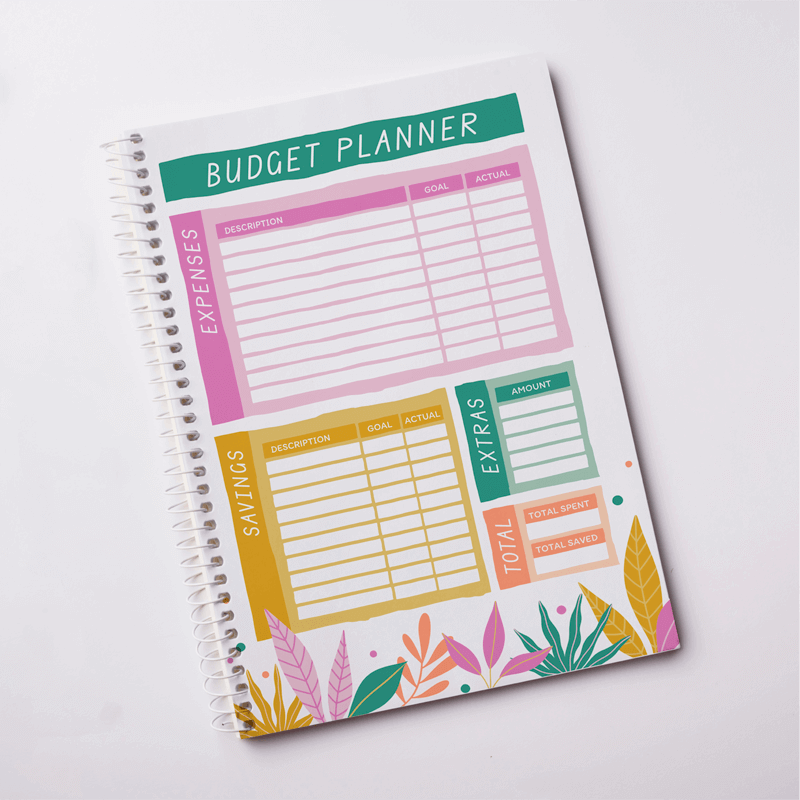
Spiral binding involves punching holes along the edges of the pages and joining them with C-shaped wire loops. This highly durable method allows a booklet to lay flat when open, making it ideal for products like manuals and cookbooks.
Pros:
- Highly durable and long-lasting: Spiral binding is known for its durability, making it an excellent choice for booklets that need to withstand a lot of handling.
- Lays flat with full page turning: This binding method allows the booklet to lay flat and pages to turn 360 degrees.
- Suitable for a wide range of page counts: Spiral binding can accommodate a variety of page counts, from thin booklets to thicker documents, offering flexibility for different projects.
Cons:
- More expensive: Spiral binding is generally more costly than saddle stitching due to the cost of the materials and the binding process itself.
- Potential for wire damage: Over time, the wire can become bent or damaged, affecting the booklet's appearance and functionality.
- Low aesthetic appeal: If the purpose of your booklet is to be high-end, spiral binding may be less suitable despite its durability.
Preparing Your Pages
- Plan your layout: Before designing your booklet, plan the layout and structure, as it will also affect how your pages appear when bound. Decide how many pages to include, what content will appear on each page and the overall flow.
- Set up your document: Use design software like Adobe InDesign or a similar program to set up your document. Ensure that your document size matches the final size of the booklet and includes bleed to prevent important content from being cut off during the binding process. Alternatively, designing your booklet with Mixam’s free Design Online tool allows you to create a booklet with preset margins.
- Design your pages: When designing each page, always consider your binding. For example, if you're using saddle stitching, keep content away from the fold line for the staples. You should also pay attention to the placement of images and text to ensure they are not too close to the edges.
- Proofread and review: Review your content and design thoroughly to ensure they’re error-free. Check for typos, formatting issues, or design inconsistencies that could affect the final product.
- Export your file: Before exporting, check that your files are high-resolution (at least 300 dpi) and are in CMYK color mode for optimal print quality.
Tips for Easy Page Preparation
How do you bind a booklet easily?
- Keep it simple: Choose clean, straightforward designs that align easily during binding. Clear, readable text and high-quality images enhance your booklet's appearance.
- Use templates: Free templates provided by printing services like Mixam are pre-formatted with guidelines for margins, bleeds, and quiet areas to help you avoid common mistakes and save time.
- Pay attention to margins and bleeds: Ensure all important content is within the designated margins on every page to prevent any crucial information from being cut off or obscured during binding.
Tips for a Successful Booklet Binding Experience
- Plan ahead: Allow enough time for the entire printing process, from design to delivery. Planning beforehand will help you meet your deadlines without compromising quality.
- Order a test print: Ordering a single copy before placing a larger order allows you to assess alignment, color, and margin issues. A test print indicates how your design looks in physical form, allowing you to make necessary adjustments before the final print run.
- Always double-check your layout: Review your layout to ensure your page sequence is correct and there are no missing or duplicated pages.
Conclusion
You can easily create beautiful booklets by understanding the different binding methods, file preparation requirements and step-by-step processes. Mixam is here to help you every step of the way. For more information and to start your booklet printing project, visit our booklet printing product page. You can also check out the array of posts on Mixam's Blog and visit our Support section for helpful guidance and advice on all things print.
Main Image Credit: ‘The Noise Hotel Guestbook’ by Adel Manji (@adelmanji)


